Drip Irrigation for Beginners
The gear links below go to my Amazon drip-irrigation list, and I earn a small commission if you buy through them, at no extra cost to you. This is the actual stuff I run in my own gardens. I'd point you to it either way.
The short version: a drip system carries water through a 1/2 inch mainline, branches off into thin 1/4 inch lines, and drips it out slowly at each plant through emitters. You protect the whole thing with a filter and a pressure regulator at the faucet, and you put it on a timer so it waters itself. That's the entire idea. Everything else is just choosing parts.
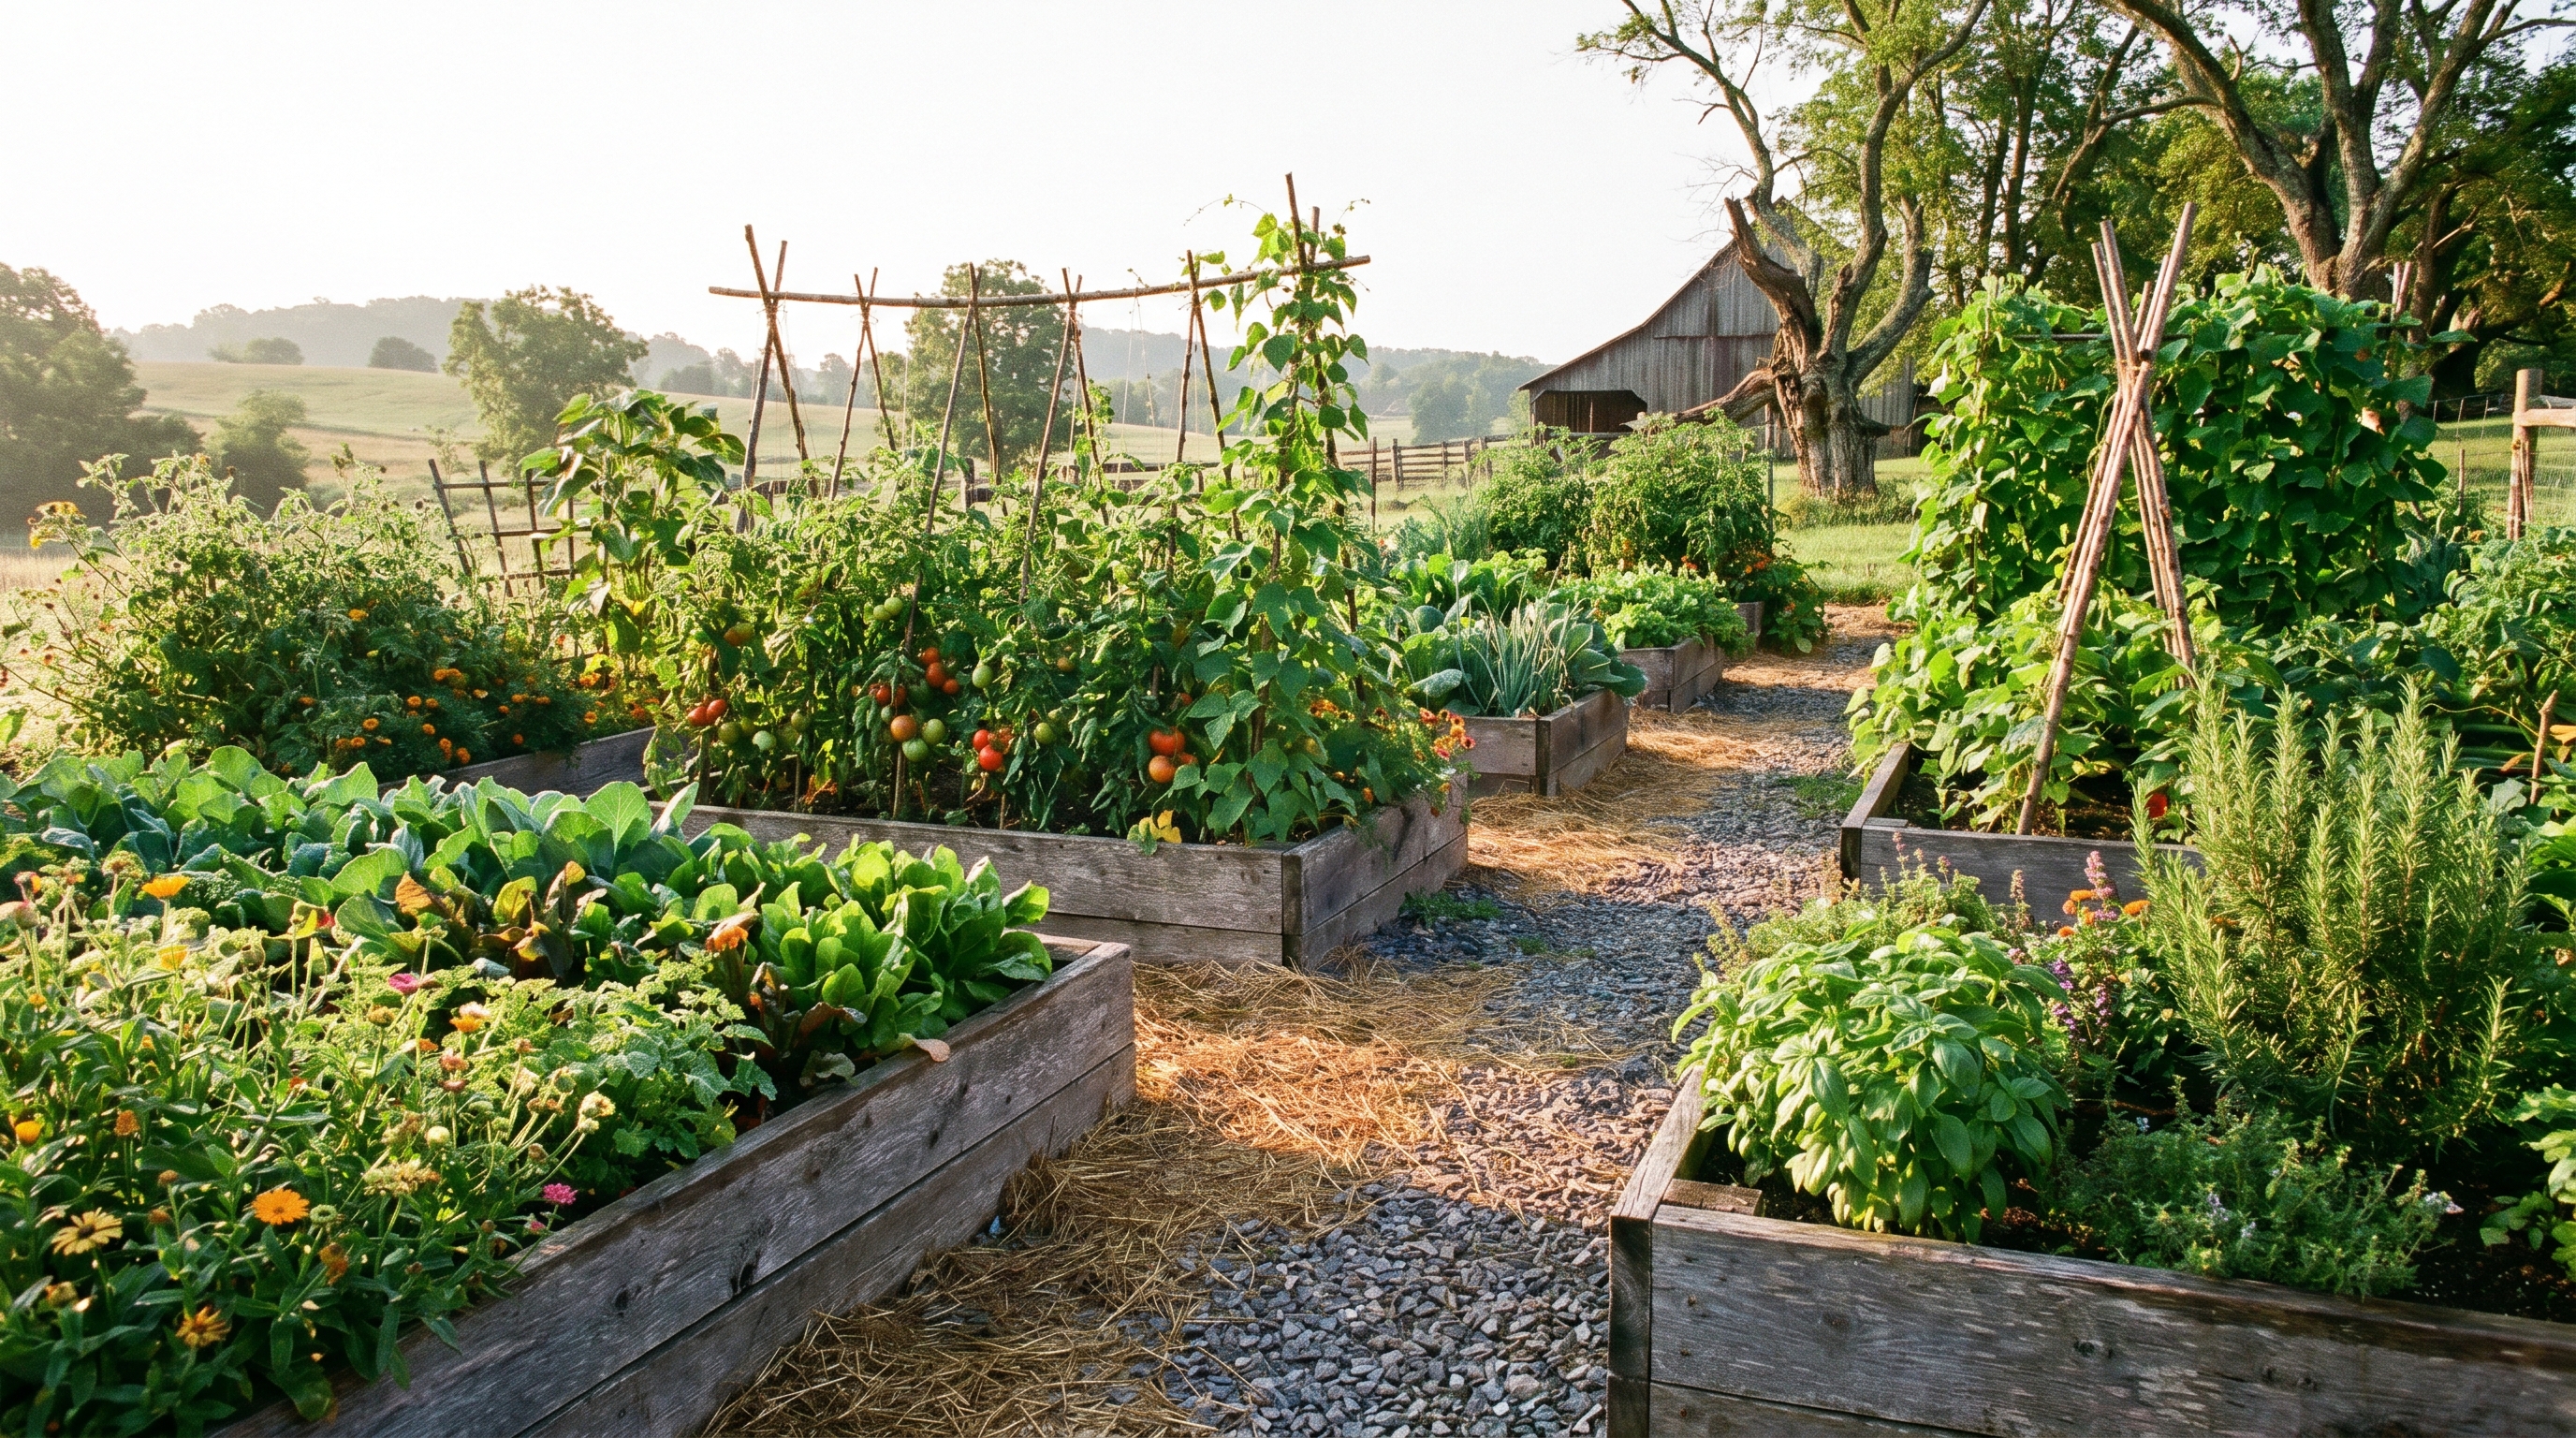
Here's the thing: hand-watering is the chore that quietly kills gardens. You travel, you get busy, it hits 95 degrees, and a week later you're looking at crispy tomatoes. Drip fixes that for good. It puts water exactly where roots can use it, wastes almost nothing to evaporation, keeps leaves dry (which means less disease), and once it's on a timer, the garden drinks on schedule whether you're there or not. I put off building one for two seasons because I assumed it was complicated. It isn't. If you can screw on a garden hose and push tubing onto a barb, you can build this in an afternoon.
How drip irrigation actually works
A sprinkler throws water into the air and hopes some lands where it's needed. Drip does the opposite: it moves water at low pressure through tubing laid right along your beds, then lets it seep out slowly, drop by drop, at the base of each plant. Because the water goes straight into the root zone and soaks in instead of misting off in the wind, you use far less of it, and the plants get a steady, even drink.
Two things make drip different from just running a hose. First, it runs at low pressure, usually around 25 PSI, much lower than your house plumbing. Second, it's modular: a backbone line with little branches you can add to whenever you plant something new. Get those two ideas and the parts list stops looking intimidating.
The parts of a drip system, faucet to plant
Water travels in this order, and so does the build. Here's each piece and what it's for.
- Timer (optional but worth it) screws onto the spigot first, so the whole system turns on and off on a schedule.
- Filter catches grit before it can clog the tiny emitter openings. A 120-mesh Y filter is the standard.
- Pressure regulator drops house pressure to the ~25 PSI drip parts are built for. Skip it and high pressure pops fittings off.
- 1/2 inch poly mainline is the backbone that carries water along your beds.
- Fittings (tees, elbows, couplings, end caps, valves) shape the mainline around corners and into zones.
- 1/4 inch tubing branches off the mainline to reach individual plants and containers.
- Emitters meter the actual drip, often 0.5 GPH, at each plant. Pressure-compensating ones keep the flow even.
- Punch tool and barbed connectors are how you join the 1/4 inch lines into the 1/2 inch mainline.
- Stakes pin everything to the soil so it stays where you put it.
Step 1: Build the faucet stack
Everything starts at the spigot, and the order matters. Screw on the timer first, then the filter, then the pressure regulator. Water should hit the timer, get cleaned by the filter, then have its pressure dropped before it ever reaches your tubing.
The regulator is the part beginners skip and regret. A hose-thread regulator (mine's a simple 25 PSI HOMECASA one) brings your line down to a pressure the tubing and emitters are designed for. Without it, the first hot afternoon you'll find fittings blown clean off the line. The filter matters just as much: a 120-mesh Y filter catches the sediment that would otherwise clog your emitters one by one until half the garden goes dry.
Chlorine and your soil. If you're on city water, a hose-end carbon filter (I use an AQUACREST inline one) knocks down the chlorine before it soaks into your beds. Your soil life will thank you. It threads on right alongside the rest of the faucet stack.
Step 2: Run the 1/2 inch mainline
Connect 1/2 inch polyethylene tubing to the regulator and lay it along your beds. This is the backbone of the whole system, and a 100-foot roll goes a long way for most home gardens. Let it warm in the sun for a few minutes first and it'll soften up and push onto fittings much easier.
Use tees to split the line, elbows to turn tight corners, and couplings to join lengths. A kit of 1/2 inch fittings with a few tees, couplings, elbows, valves, and end caps covers almost any layout you'll dream up. If you want to shut off a section independently, drop an inline valve where that branch begins so you can water zones separately.
Step 3: Branch off with 1/4 inch tubing
Now the fun part. Wherever you need to reach a plant, use the punch tool to make a clean hole in the mainline, push in a barbed connector, and run thin 1/4 inch tubing over to the plant. A 2-in-1 punch and insertion tool makes this almost effortless, and a big bag of barbed fittings (straight barbs, tees, elbows, couplings) means you never have to stop mid-project. Punched a hole in the wrong spot? That's what goof plugs are for. Just plug it and move on.
For longer reaches and for spacing plants down a row, 1/4 inch blank distribution tubing is your friend. It carries water without dripping until you decide where the drip should happen.
Step 4: Place the emitters
This is where water finally meets plant. You've got two easy routes:
- Individual emitters. Pop a pressure-compensating emitter (0.5 GPH is a good all-rounder) at the end of each 1/4 inch line, one per plant. "Pressure-compensating" means every plant gets the same steady drip whether it's first on the line or last, and whether your yard is flat or sloped. For spaced-out plants, shrubs, and containers, this is the way.
- Emitter tubing. For a tidy row of veggies, use 1/4 inch emitter tubing with drippers built in at set spacing (6 inch or 12 inch). You just lay it down the row and every plant is covered. No punching, no per-plant emitters.
Got a tree or a big perennial? A drip ring circles the root zone so the whole thing gets watered evenly instead of one sad spot.
Step 5: Stake it, flush it, cap it
Pin the mainline and branches to the soil with U-shaped stakes every few feet so nothing wanders when you brush past it. Before you close everything up, run the water with the ends still open to flush out any bits of plastic from cutting and punching. Then close the line ends with end caps or a figure-eight closure. Turn it on and walk the line once, checking that every emitter is actually dripping.
Step 6: Automate it with a timer
A drip system on a timer is the closest thing to a garden that waters itself. Set it for a slow, deep soak in the early morning and your plants drink before the heat, every single day, hands-off. Battery and solar models with app or voice control let you tweak the schedule or add a rain delay from your phone, which is a quiet kind of magic when you're away for a weekend.
One reminder: a timer waters on schedule, but it can't feel the soil. In a cool, rainy spell, shorten the run time or skip a day so you're not drowning the bed. Drip plus a little attention beats drip on full autopilot.
How to install a drip system, start to finish
- Build the faucet stack. Timer, then filter, then pressure regulator, in that order.
- Run the mainline. Lay 1/2 inch poly tubing along your beds from the regulator.
- Branch off. Punch the mainline, insert a barbed connector, run 1/4 inch tubing to each plant.
- Place emitters. A pressure-compensating emitter per plant, or pre-spaced emitter tubing down a row.
- Stake it down. Pin the tubing to the soil so it stays put.
- Flush and cap. Clear debris with the ends open, then close them.
- Set the timer. Early-morning deep soak, adjusted with the seasons.
Don't overthink the first build. A short mainline, a few branches, an emitter per plant, and a timer will transform how your garden looks in July. You can always add to it.
Want the simplest possible start?
If a full parts list still feels like a lot, an all-in-one micro drip kit is a great on-ramp. You get tubing, fittings, and adjustable emitters in one box, ideal for a patio, a greenhouse bench, or a cluster of containers. Build a small one, learn how the pieces fit, then scale up into a full bed system once it clicks. There's also a solid beginner's book in my list if you like reading the whole thing through before you start.
Everything in this guide is on one list. Regulator, filter, tubing, fittings, emitters, punch tool, stakes, and timers, the exact parts I use, are gathered here: my drip irrigation kit on Amazon. Pick what fits your garden.
This pairs with how you already water
Drip handles the when and where for you, but the principles don't change: deep and less often still wins. If you haven't read it, our guide to watering without guesswork covers the finger test and why a slow soak beats a daily splash, which is exactly what drip delivers. And a couple of inches of mulch over your drip lines keeps the soil cool and damp so you can water even less.
Frequently asked questions
Is drip irrigation worth it for a small garden?
Yes, and small is the easiest place to start. A few beds or a row of pots need only a short run of tubing and a handful of emitters, so it's cheap to try and pays off right away in even watering and no more nightly hand-watering. You expand it later by punching in more branches.
How much water does drip save?
A lot, because the water goes straight to the roots and soaks in instead of evaporating or blowing off a sprinkler. The water reaches the plant, not the path and the air, and dry leaves mean less fungal disease too.
What water pressure does drip need?
Most drip parts want low pressure, commonly around 25 PSI, while a home spigot runs much higher. That's why you add a pressure regulator at the faucet. Without one, high pressure blows fittings off and damages emitters.
Do I need a filter?
Yes. Emitter openings are tiny and clog easily, so a 120-mesh filter at the faucet catches grit and keeps things flowing. For organic gardens on city water, a carbon hose filter also cuts chlorine before it hits your soil.
What are pressure-compensating emitters?
They release the same steady flow across a range of pressures, so the plant at the far end of a long line or top of a slope drinks the same as the one by the faucet. On uneven ground or longer runs, they keep watering even.
Can I put it on a timer?
Definitely, and it's where drip shines. A hose-bib timer waters early morning whether you're home or not, and app or solar models add remote schedules and rain delays. Just shorten the run in cool, wet weather.
Every part in this guide, the regulator, filter, tubing, fittings, emitters, punch tool, stakes, and timers, is the exact kit I run in my own gardens. I've gathered it all in one place so you don't have to hunt down a single piece.
Get my drip irrigation kit on Amazon →As an Amazon Associate I earn from qualifying purchases, at no extra cost to you.
Building your first system?
Post a photo of your layout on the forum and the Collective will help you place emitters and chase down leaks. No question is too basic.