Estimated reading time: 6 minutes
Hey garden friends! Let’s talk about starting seeds indoors – and don’t worry if you’re feeling nervous about it. I was too when I first started! But here’s the thing: it’s kind of like learning to cook. Sure, you might burn the occasional toast (or in our case, forget to water for a day), but pretty soon you’ll be growing plants like a pro. Trust me, nothing beats the feeling of watching those first little green sprouts pop up from seeds you started yourself.
Learn more about growing fresh herbs indoors
Why Start from Seeds?
Look, I get it – buying starter plants is easier. But here’s why I’m obsessed with starting from seed:
- You’ll save serious cash (like, seriously – have you seen the price of tomato plants lately?)
- You can grow cool heirloom varieties that tell a story
- The selection is WILD – ever tried purple carrots or black tomatoes?
- It feels amazing to be part of preserving traditional varieties
- You can save seeds for next year (talk about self-sufficiency!)
Getting Your Gear Together (Without Breaking the Bank)
Alright, let’s talk about what you actually need. And don’t worry – you probably have most of this stuff lying around:
Essential Gear:
- Quality heirloom seeds from trusted growers (Bear Mountain Seeds is where I get mine)
- Something to plant in (more on this in a sec)
- Seed starting mix (not garden dirt – trust me on this one)
- Basic labels (popsicle sticks work great)
- Light source (a sunny window or cheap shop light)
- Water mister (or any spray bottle)
Expert tips for growing garlic this fall
The Container Question
Here’s my money-saving secret: those fancy seed-starting trays? Skip ’em. Seriously. I’ve grown amazing plants in:
- Empty yogurt cups (poke holes in the bottom)
- Egg cartons
- Old takeout containers
- Paper cups
- Even toilet paper rolls!
Just clean everything really well first. Soap and water work fine – we’re not running a hospital here!
Picking Your Seeds
This is where the magic starts! If you’re just starting out, here are some tried-and-true winners:
- Tomatoes (they’re like the golden retrievers of the garden – friendly and forgiving)
- Peppers (they take forever but they’re worth the wait)
- Zinnias (these things practically grow themselves)
- Marigolds (basically bulletproof)
- Basil (because who doesn’t want fresh pesto?)
When choosing varieties, look for heirloom seeds from folks who really care about preservation (Bear Mountain focuses on heirloom varieties). These seeds have stories behind them – some varieties have been grown for generations!
Transform your garden this fall with these expert tips
The Dirt on Soil
Okay, real talk about soil: you can’t just grab some from your backyard. Trust me, I learned this one the hard way! You need the fluffy stuff made specifically for starting seeds. Think of it like baby food for plants – easy to digest and packed with exactly what they need.
Your soil should be:
- Light and fluffy (like a really good chocolate mousse)
- Able to hold water without turning into soup
- Clean (no weird stuff growing in it)
- Fine enough that tiny seeds can push through
Here’s a neat trick: mix your soil with water BEFORE you fill your containers. It should feel like a wrung-out sponge. Your future plants will thank you!
Want to protect your garden this winter? Check out our mulching guide
Planting Your Seeds (The Fun Part!)
Time to get your hands dirty! Here’s my foolproof method:
- Fill containers with pre-moistened soil
- Make little divots (I use a pencil)
- Drop in seeds (use the packet info for depth)
- Cover gently with soil if needed
- Label EVERYTHING (trust me on this one!)
- Mist well with water
The Waiting Game (AKA Germination)
Alright, you’ve got your seeds tucked into their cozy soil beds. Now comes the part that tests your patience! Different seeds take different times to sprout – some pop up in days (looking at you, zinnias), while others take their sweet time (hello, peppers!). Check your seed packets for timing, and maybe start a garden journal to track what works best.
Looking ahead? Learn about fall tree planting
Creating Perfect Growing Conditions
Think of yourself as a plant hotel manager – your job is making sure your guests are comfy:
Temperature:
- Most seeds like it warm (65-75°F)
- Some like it hot (peppers and tomatoes love 80°F)
- A heat mat can help, but it’s not required
Light:
- Once sprouted, they need LOTS of light
- A sunny south-facing window works
- Cheap shop lights do the trick too
- Keep lights close (2-3 inches from plants)
Water:
- Keep soil moist but not swampy
- Bottom watering rocks (prevents damping off)
- Use room temperature water (no cold showers!)
Master indoor herb growing with our guide
Common Problems (And How to Fix Them!)
Even experienced gardeners hit snags sometimes. Here’s how to handle the usual suspects:
Leggy Seedlings:
- Problem: Not enough light
- Fix: Move lights closer or find a sunnier spot
- Prevention: Rotate plants daily
Damping Off (The Dreaded Fungus):
- Problem: Too wet, poor air circulation
- Fix: Unfortunately, affected seedlings are goners
- Prevention: Good airflow, clean containers, quality seeds
The “Getting Buff” Stage (Hardening Off)
Think of this like plant boot camp. You can’t just toss your indoor babies straight into the garden – they need to toughen up first:
Week 1:
- Day 1-2: 1 hour outside in a sheltered spot
- Day 3-4: 2-3 hours, little bit of sun
- Day 5-7: 4-5 hours, more sun exposure
Week 2:
- Gradually increase outdoor time
- Start leaving them out overnight (unless frost threatens)
- Keep soil moist during this process
Get ready for winter with our protection guide
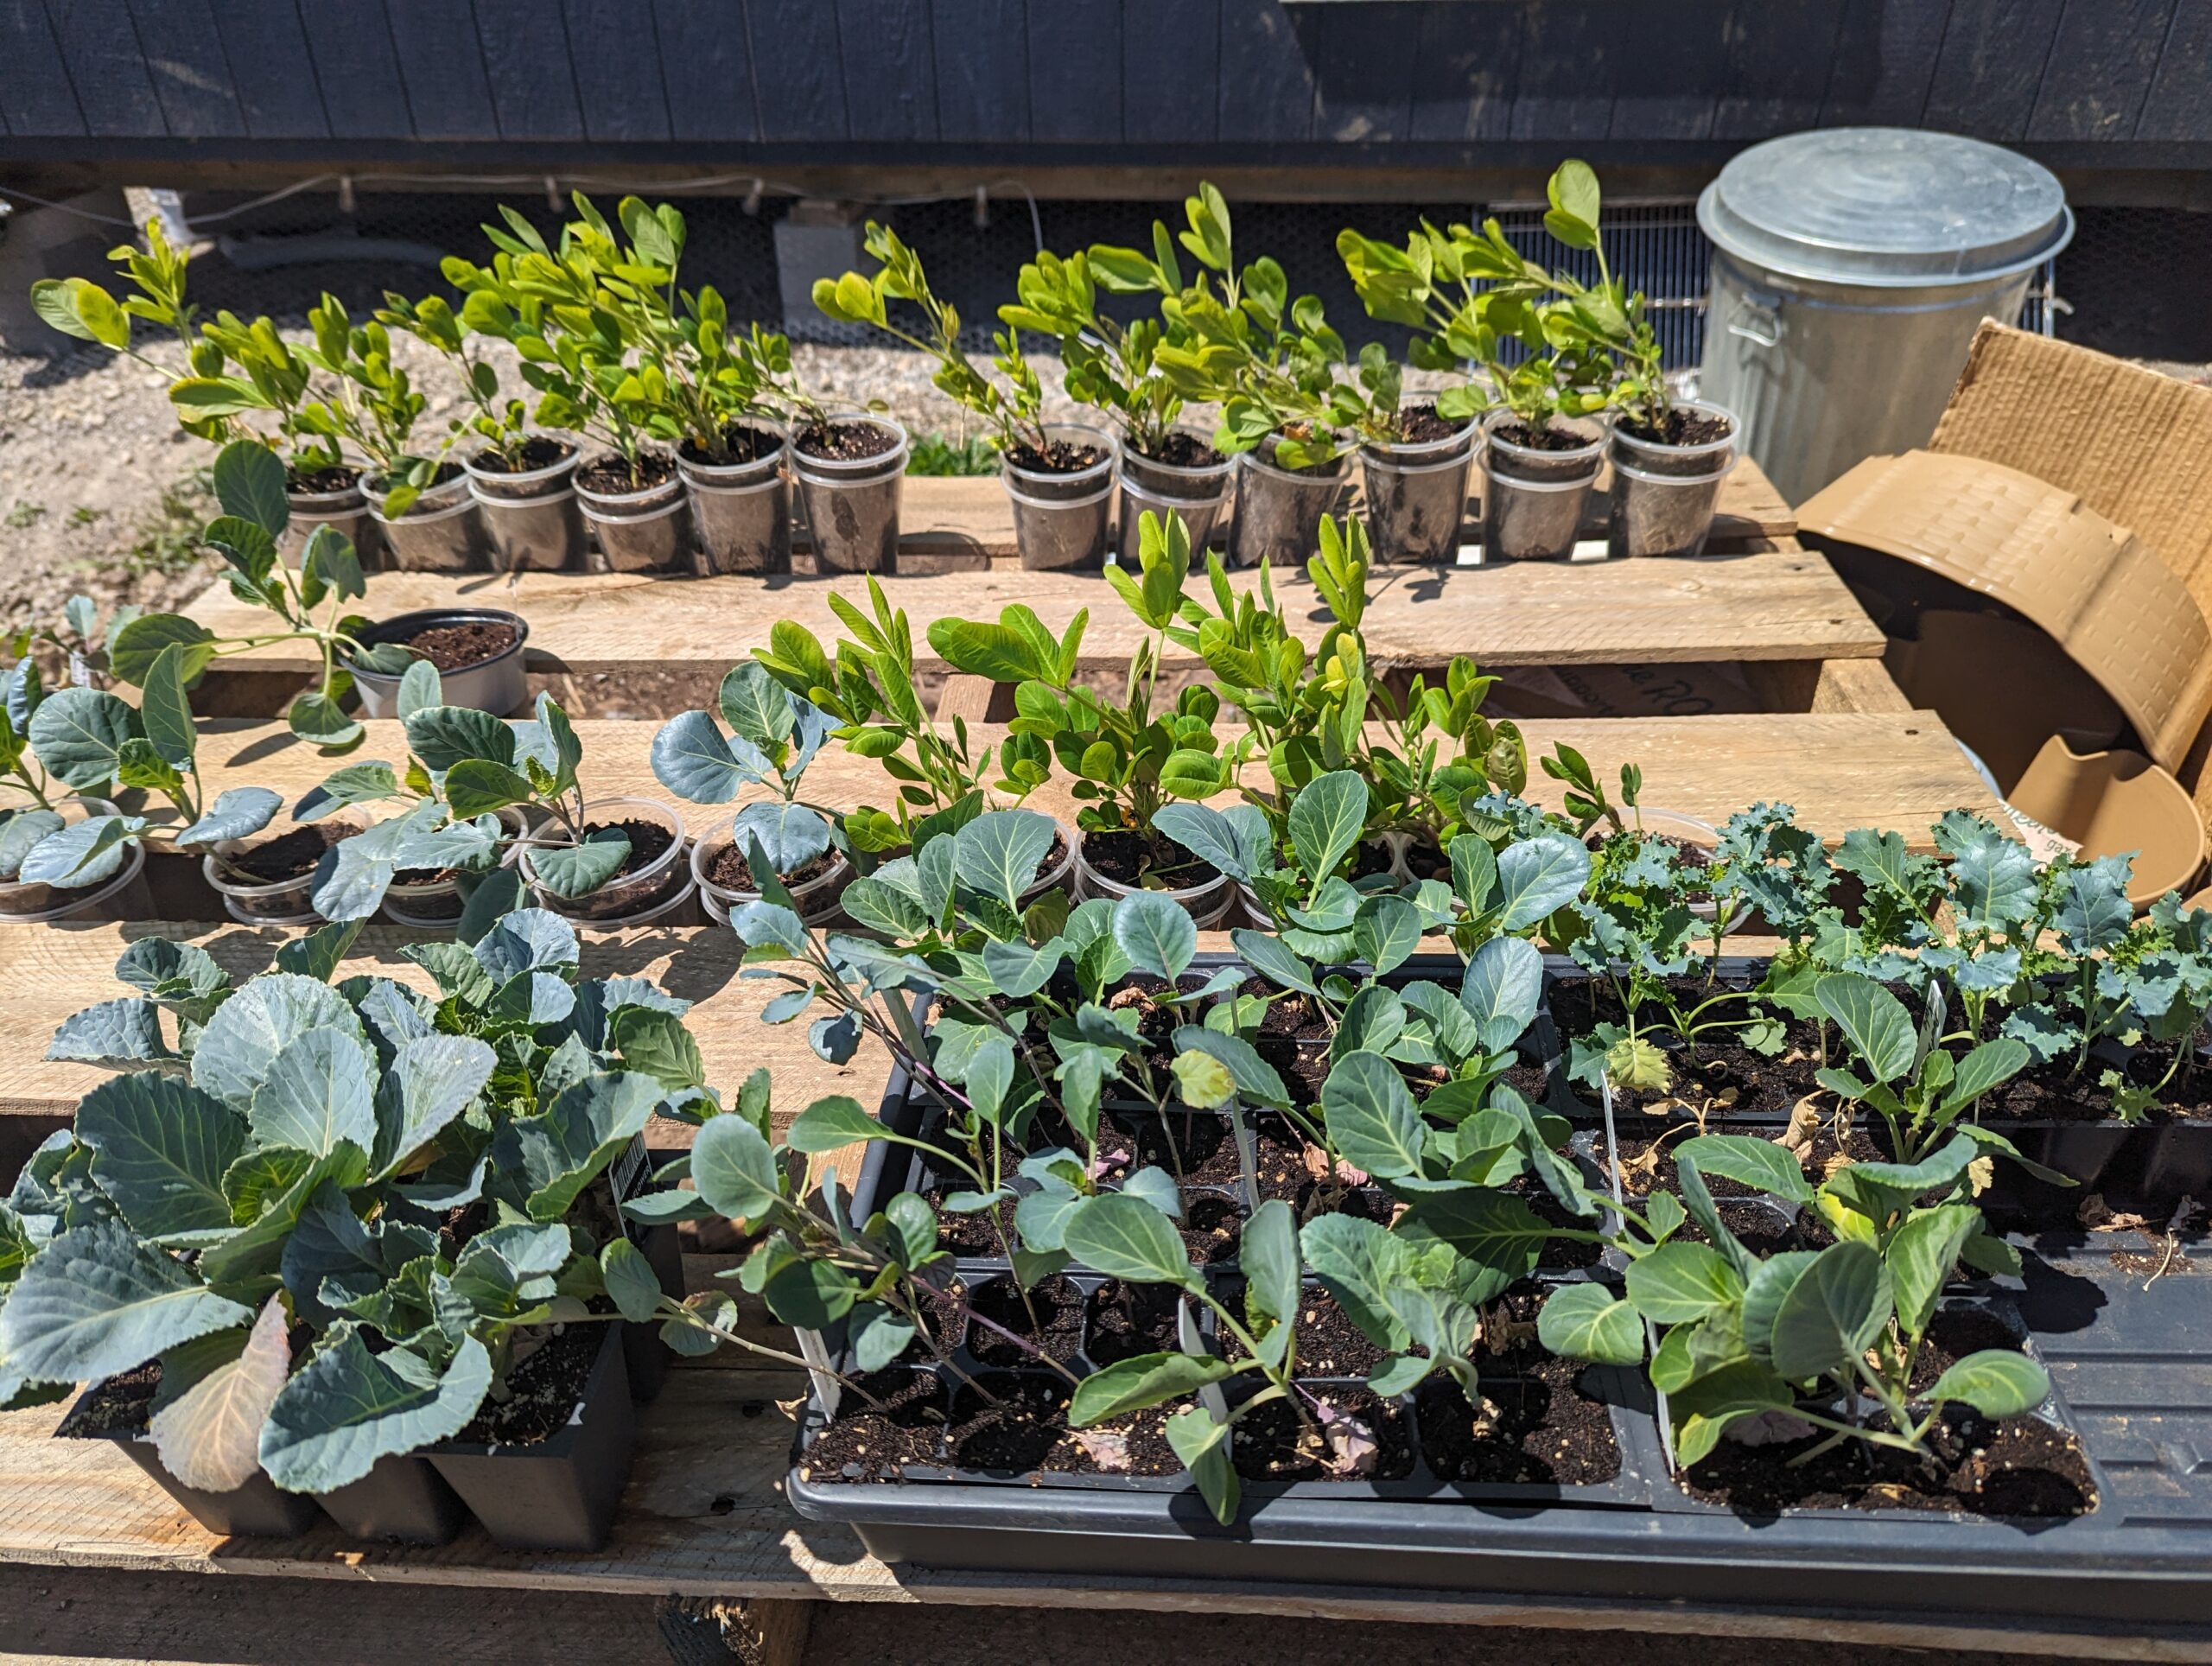
The Big Garden Move
Finally! Garden planting time! Pick an overcast day or late afternoon for transplanting. Your seedlings will thank you. Here’s the process:
- Prepare your garden beds first
- Dig holes twice as wide as your containers
- Gently remove plants (squeeze containers to loosen)
- Plant at the same depth they were growing
- Water well with seaweed fertilizer if you’ve got it
Time to plant garlic? We’ve got you covered
Saving Seeds (Coming Full Circle)
One of the coolest things about growing heirlooms is saving seeds for next year. Once you’ve tasted success with those first seedlings, you might get hooked on the idea of seed saving. It’s like having your own little seed bank!
Let a few of your best plants go to seed, then:
- Wait for full maturity
- Harvest on a dry day
- Clean seeds properly
- Store in a cool, dry place
Pro tip: Check out Bear Mountain Seeds for inspiration – their dedication to preserving heirloom varieties taught me a lot about the importance of seed saving!
Learn about the best gardening trees for 2025
Remember, Friends…
Starting seeds isn’t just about growing plants – it’s about connecting with our food, preserving diversity, and becoming more self-reliant. Every seed you start is a little step toward a more sustainable future. Plus, there’s nothing quite like serving a salad and saying, “I grew this from seed!”
Got questions? Having troubles? Success stories to share? Drop them in the comments below! And don’t forget to check out our other guides:
Happy growing, friends! Let’s keep these heirloom varieties thriving for generations to come!
Happy planting, friends!
Comments
2 responses to “Seed Starting for Complete Beginners”
[…] you searching for quality trees online? Whether you’re an experienced gardener or just starting out with seed cultivation, these top-rated nurseries have you covered. Moreover, fall is the ideal time for tree planting, […]
[…] And if you’re looking to expand your gardening skills beyond trees, why not check out our seed starting guide for complete beginners? It’s never too early to start planning for […]