Estimated reading time: 8 minutes
Ever checked the ingredient list on store-bought bread? Between the preservatives, dough conditioners, and hidden sugars, you’re paying premium prices for ingredients you can’t even pronounce. After my family started having digestive issues with commercial bread, I turned to my bread maker for a solution. What started as a health necessity became a budget-saving revelation.
I was a die-hard stand mixer bread baker until I discovered the KBS Pro Bread Maker. While I loved my stand mixer, this machine completely changed my bread-making game. After testing many models, this one consistently delivers perfect results whether I’m making a full loaf or using the dough mode for buns. The large viewing window lets me monitor progress, and its 15-hour delay timer means I can wake up to fresh bread. Plus, it freed me from being tied to the kitchen during the kneading and rising process.
The Real Cost of Store-Bought vs. Homemade
Let’s break down the numbers for a basic 1.5 lb loaf:
Store-bought costs:
- Basic sandwich bread: $3.50-4.50
- Artisan herb & cheese bread: $6-8
- Weekly bread budget (2 loaves): $7-16
- Monthly commercial bread cost: $28-64
My homemade recipe costs (current prices):
- 3 cups bread flour (organic): $0.90
- Yeast (bulk purchase): $0.20
- Local honey: $0.45
- Fresh herbs (garden-grown): $0.10
- Asiago cheese: $0.50 Total: About $2.15 per loaf
Annual Savings: $175-450, while getting a superior, fresh product!
Health Benefits That Make a Difference
When you make bread at home, you:
- Control exactly what goes into your food
- Avoid artificial preservatives
- Can adjust ingredients for dietary needs
- Use fresh, whole ingredients
- Know exactly when it was made
Why My Bread Maker Changed Everything
After discovering my family’s sensitivity to commercial bread additives, my bread maker became essential. Here’s why it works for busy families:
- 10 minutes of active prep time
- No artificial preservatives needed
- Fresh bread costs less than store-bought
- Control over ingredients for food sensitivities
- Energy efficient compared to oven baking
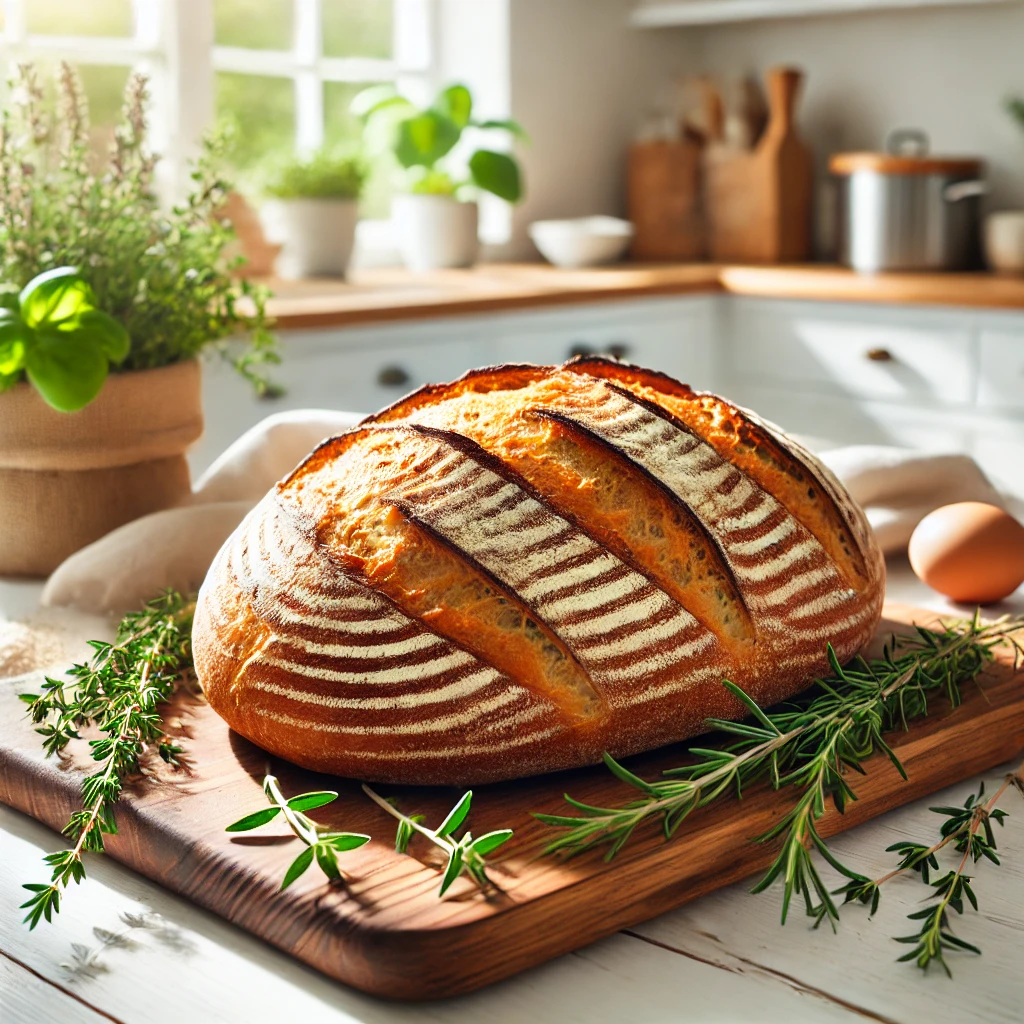
My Budget-Friendly, Wholesome Herb & Asiago Recipe
This recipe balances nutrition with flavor. I use local honey for its health benefits and fresh herbs from my garden to keep costs down. Even with premium ingredients like asiago cheese, it’s still cheaper than store-bought artisan bread.
Ingredients
- 1 cup warm water (110°F/43°C)
- 3 tablespoons local honey
- 3 cups bread flour
- 1½ teaspoons freshly ground Himalayan salt
- 2 teaspoons active dry yeast
- 1½ tablespoons mixed fresh herbs (rosemary, thyme, basil), finely chopped
- ¾ cup grated asiago cheese
Method for Full Loaf
- Pour warm water and honey into the bread pan
- Add bread flour, ensuring it covers the liquid
- Sprinkle freshly ground Himalayan salt and herbs evenly
- Create a small well in the flour and add yeast
- Add grated asiago cheese
- Select basic or white bread setting (typically 3-4 hours)
- Once complete, remove from pan immediately
- Cool on wire rack for at least 1 hour before slicing
Pro Tip: For extra cheesy flavor, reserve 3 tablespoons of the grated asiago to sprinkle on top during the last 30 minutes of baking.
Essential Tools for Success
These tools significantly improve your bread-making:
- Bread Maker
- I use the KBS Pro Bread Maker for its consistent results
- Large viewing window helps monitor progress
- 15-hour delay timer for fresh bread anytime
- Versatile settings for both full loaves and dough mode
- Digital Kitchen Scale
- The Food Scale ensures perfect portions every time
- Essential for precise measurements down to 1g
- Crucial for consistent bun sizes
- Perfect for recipe scaling
- Tare function makes portioning easy
Why a Kitchen Scale Changes Everything
While this scale is essential for bread making, it’s actually a game-changer for all your cooking:
- Coffee: Perfect coffee-to-water ratios for barista-quality brews
- Pasta: Accurate portions prevent waste and overcooked leftovers
- Meal Prep: Consistent portions for balanced nutrition
- Rice: Perfect rice-to-water ratios every time
- Baking: Professional-level precision for pastries and cakes
- Meat: Accurate portions for even cooking and meal planning
- Smoothies: Balanced ingredients for perfect consistency
- Pizza Dough: Exact portions for consistently sized pizzas
Cost Savings: By weighing portions, you’ll reduce food waste and never make too much or too little again. Plus, weight measurements are more accurate than cups and spoons, meaning fewer failed recipes and wasted ingredients.
International Recipes: Most recipes outside the US use weight measurements. A scale lets you cook any recipe from around the world without confusing conversions.
- Professional Bread Slicer
- The DB-Tech Bamboo Bread Slicer is my go-to tool
- Adjustable slice thickness
- Folds flat for easy storage
- Perfect uniform slices every time
- Quality Bun Molds
- Hot Dog Bun Pan: Creates perfect New England-style split-top buns
- Burger Bun Mold: Professional-grade, non-stick for perfect results
- Reusable and durable
- Ensures consistent size and shape
Note: As an Amazon Associate, I earn from qualifying purchases. However, I only recommend products I personally use and trust.
Growing Your Own Herbs: Save Money, Boost Nutrition
A small herb garden is your secret to both savings and better bread. Even a few pots on a windowsill can provide fresh herbs year-round. If you’re new to growing herbs, check out my complete herb growing guide How to Grow a Year-Round Indoor Herb Garden – it’s simpler than you might think!
- Rosemary: Rich in antioxidants, great for memory
- Thyme: Natural antimicrobial properties
- Basil: High in vitamin K and anti-inflammatory compounds
Money-Saving Tip: One $3 herb plant can provide months of fresh herbs, compared to paying $3 per small package at the store. That’s a 95% savings! Not sure where to start? My herb guide breaks down exactly how to grow and maintain these essential bread-making herbs.
Mastering Dough Mode for Perfect Buns
Your bread maker isn’t just for loaves – it’s actually an amazing dough-kneading machine! Here’s how to use it for perfect buns:
Using Dough Mode
- Add ingredients in the same order as above
- Select ‘Dough Mode’ (usually a 1.5-hour cycle)
- Let the machine complete its cycle – you’ll have perfectly kneaded and risen dough
The Science of Perfect Portions
Here’s my tried-and-tested guide for different bun sizes:
Standard Weights for Different Buns
- Slider Buns: 35-40g each
- Regular Burger Buns: 80-85g each
- Large Burger Buns: 110-120g each
- Hot Dog Buns: 65-70g each
- Dinner Rolls: 50-55g each
- Sub Rolls: 130-140g each
Pro Tip: Keep a notebook with your preferred weights – everyone’s perfect size is slightly different!
Step-by-Step Portioning Process
- Place your scale on a clean surface
- Keep a bowl of flour nearby for dusting
- Set scale to grams for precision
- Tare (zero) the scale with parchment paper
- Pinch off dough and weigh each portion
- Place weighed portions under damp cloth
Hot Dog Buns
- Roll each portion into a rectangle
- Roll up tightly from long edge
- Pinch seam to seal
- Place in split-top bun pan for authentic New England style
- Gently press to form shape
Burger Buns
- Flatten each portion into a disc
- Pull edges to center and pinch to seal
- Place seam-side down in professional bun mold
- Press gently to fill mold evenly
- Let rise until doubled
Second Rise and Baking
- Place shaped buns on parchment-lined sheets
- Cover with damp cloth
- Let rise until doubled (30-45 minutes)
- Brush with egg wash if desired
- Bake at 375°F (190°C):
- Dinner rolls: 12-15 minutes
- Burger buns: 15-18 minutes
- Sub rolls: 18-20 minutes
Gluten-Free Adaptations
The KBS Pro Bread Maker has a dedicated gluten-free setting, which is crucial for proper gluten-free bread texture. Here’s how to adapt this recipe for gluten-free needs:
Gluten-Free Flour Blend Substitution
Replace the 3 cups bread flour with:
- 2 cups all-purpose gluten-free flour blend
- ½ cup almond flour
- ½ cup tapioca flour
- 1 tablespoon xanthan gum (if your blend doesn’t include it)
Important Adjustments
- Increase water to 1¼ cups
- Add 1 tablespoon apple cider vinegar to activate the rise
- Use quick-rise yeast for better results
- Expect a different texture – gluten-free breads are naturally denser
Pro Tip: Gluten-free dough doesn’t need the same kneading time. Use the gluten-free setting on your bread maker, as it’s specifically programmed for these differences.
Cost Considerations for Gluten-Free
Gluten-free baking does increase the cost:
- GF flour blend: $2.50
- Almond flour: $1.25
- Tapioca flour: $0.50
- Other ingredients: $2.75 Total: About $7.00 per loaf
However, when compared to store-bought gluten-free bread ($7-9 per loaf), you’re still saving while getting fresh, additive-free bread. Plus, you control all ingredients, which is crucial for those with celiac disease or gluten sensitivity.
Storage and Freezing Tips
Fresh Bread & Buns (No Preservatives Needed!)
- Cool completely before storing
- Use airtight container or bread box
- Consume within 2-3 days at room temperature
- Slice with your bamboo bread slicer before freezing for up to 3 months
- Store sliced bread in freezer bags for easy portioning
Batch Prepping for Busy Weeks
- Make double batches of dough
- Portion and freeze after first rise
- Thaw overnight in fridge
- Shape and bake fresh when needed
Money-Saving Tip: Plan your baking around your schedule. One Sunday afternoon of prep can give you fresh bread all week and save hours of time.
Preventing Food Waste
- Slice and freeze half the loaf if you won’t eat it within 2 days
- Use “older” bread for toast, croutons, or breadcrumbs
- Mark freezer bags with dates to rotate stock
- Thaw only what you’ll use in 1-2 days
Final Tips for Success
- Always measure ingredients precisely
- Use room temperature ingredients (except water)
- Check yeast freshness regularly
- Clean machine thoroughly after each use
- Keep the manual handy for reference
- Write down your successful variations
Whether you’re making a full loaf or perfectly portioned buns, your bread maker is the key to taking control of your family’s health and budget. Gone are the days of wondering about mysterious ingredients or paying premium prices for artisan bread. With this simple herb, honey, and asiago recipe, you’re not just making bread – you’re investing in your family’s wellbeing. Every loaf you make is free from preservatives, artificial ingredients, and commercial additives. Plus, you’ll have the satisfaction of knowing exactly what’s nourishing your loved ones.
For the freshest flavors and maximum savings, consider starting your own herb garden – my detailed guide on How to Grow a Year-Round Indoor Herb Garden will show you exactly how to get started. There’s nothing quite like walking to your windowsill to snip fresh herbs for your daily bread!
Remember, making your own bread isn’t just about saving money or creating something delicious – it’s about making a conscious choice for better health. Start with this recipe, adjust it to your family’s needs, and enjoy the peace of mind that comes from real, wholesome bread. Happy baking, and here’s to your health!